
settings
children
With Famly since
It’s been raining here in D.C. for the last week, and if I’m going a bit stir crazy, I’m sure the kiddos are too.
But, I’m here to show how rainy days are actually the perfect opportunity to get creative indoors! Whether you're stuck inside at preschool or at home, rainy days can be full of adventure, laughter, and learning.
From crafting up a storm to dancing like nobody’s watching, these 10 rainy day activities will keep preschoolers entertained, engaged, and maybe even a little bit tired out by the end! So, grab your supplies, clear some space, and let the fun begin!
Fun rainy day activities to try today!
1. Read - a classic, but make it extra comfy and snuggly.

What you need:
- Any book of your choice!
- Maybe some blankets, or stuffed animals, or something to make it a cozy time
- Props if you want to add some theater into the activity!
The activity:
I know this isn’t the most exciting or original idea, but it is a classic for a reason. There are so many stories out there! Try a classroom favorite, or maybe try introducing them to a new book. Who knows - it might become a new favorite!
Plus, there are ways to take reading to the next level. Encourage the children to act out the story themselves and make it a fun theater activity. Or check out these activities that bring The Very Hungry Caterpillar and Where the Wild Things Are outside of the pages! You can use them as inspiration for any other book.
Source: Pathways
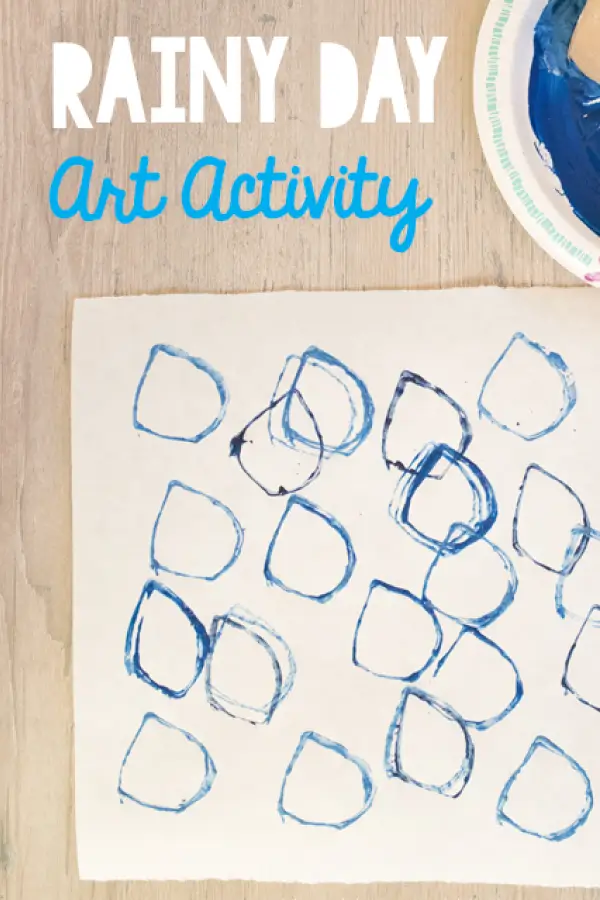
2. Learn about rain with watercolor

What you need:
- Cookie tray
- Blue watercolor
- Water
- White paper
- Paintbrush
- Optional: black tape or painters tape
The activity:
- Mix water and the blue watercolor into a cup until you like the color of the blue.
- Next, pour that liquid into the cookie tray.
- Paint the watercolor all over the cookie tray.
- Then, put the piece of white paper into the cookie tray and press down. Push down a bit to make sure the watercolor sticks to the white paper.
- Then, ta da! You have your rainy day art.
- You can put tape around the borders of the paper to make the outline of a window.
Using the artwork, you can incorporate some science and weather learning. Talk about the different types of rain: drizzle, rain, thunderstorm, downpour. Does someone’s art have a thick blue spot? Maybe that’s the downpour. Some spots of blue? That’s like a drizzle!
Source: Play Teach Repeat
3. Homemade rain stamps
What you need:
- Blue, white and black paint
- White piece of paper
- Empty toilet paper tube
- Paper plate (to mix paint)
The activity:
- On the paper plate, pour out the blue paint into three different “puddles.” In one, add white paint, and the other black paint, and leave the other one just blue. Now you have 3 different shades of blue!
- Then, squeeze your toilet paper tube into a raindrop shape.
- That’s all the prep you need! Now dip the tube into the paint and you have a homemade stamp that will make raindrops on the white paper.
This activity is a fantastic opportunity to introduce preschoolers to color mixing and explore how different shades come together. You can spark their curiosity by encouraging them to experiment with blending colors—watch their eyes light up as red and blue magically turn into purple!
Plus, holding the tube, dipping it into paint, and stamping it onto the paper helps build essential hand-eye coordination and fine motor skills, all while they’re having fun creating their masterpieces. It’s a playful blend of art and learning that they’ll love!
Source: Play Teach Repeat
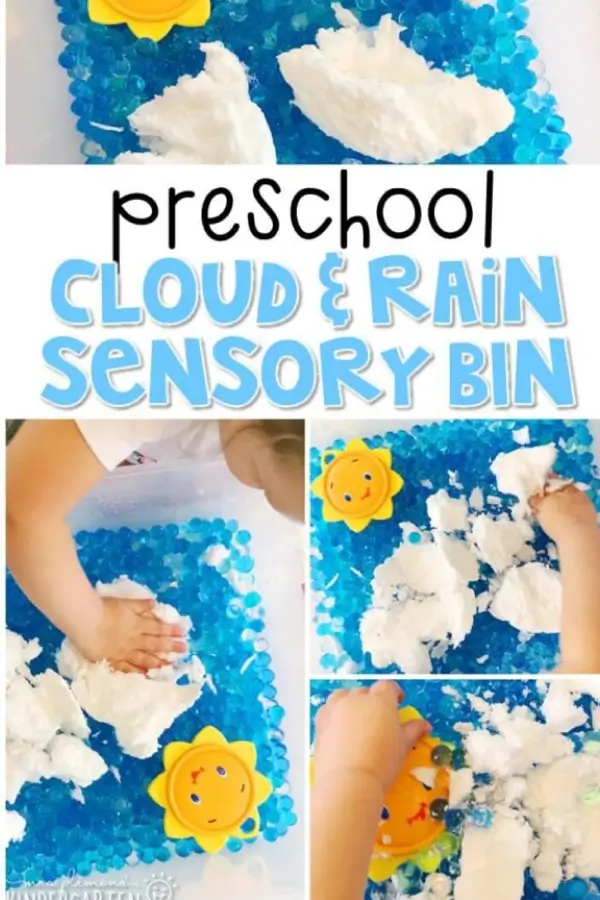
4. Cloud and rain sensory bin
What you need:
- Blue water beads
- Ivory soap
- Rattle toy shaped like the sun
- Microwave
- Large microwave safe bowl
The activity:
- Put the water beads and the rattle toy, and any other rain themed toys into the sensory bin. Then time to make your own clouds!
- Put the bar of plain white Ivory soap into a large microwave safe bowl. *Emphasis on large, because this soap will grow much more than you think!
- Microwave the soap for about 2 minutes.
- The soap will expand and look like one giant cloud. Break it up into pieces and then you have many fluffy clouds which are perfect to add to the sensory bin!
Everyone loves sensory bins, and the countless number of themes means you can always keep them new, fun and exciting. Plus, by growing their own clouds, you add some STEM learning, and hands-on learning!
Source: Mrs. Plemon's Kindergarten
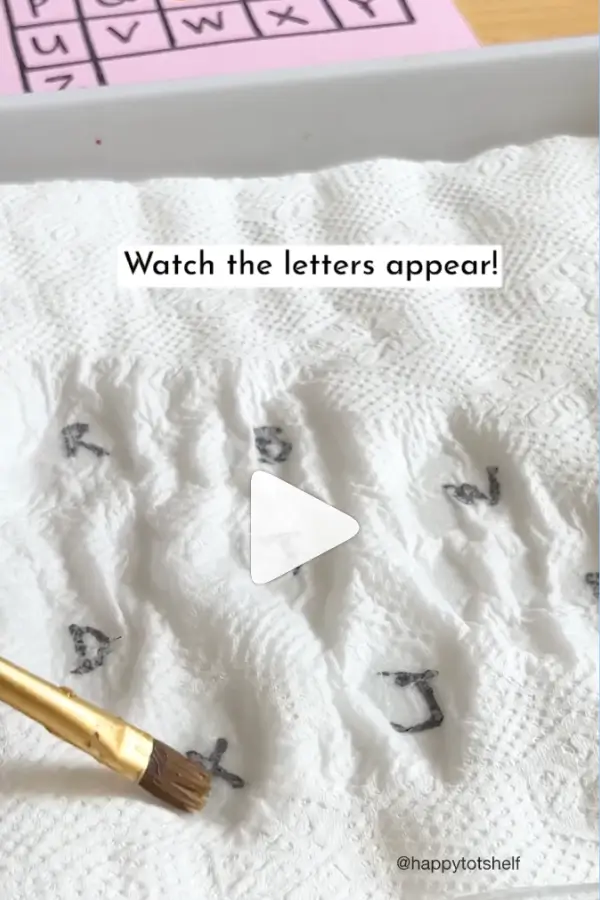
5. Water letter learning
What you need:
- A tray, or something that you don’t mind getting wet and dirty
- Two paper towels
- A paint brush
- A cup of water
- A piece of paper with the alphabet on it
- A marker
The activity:
- Take one of the paper towels and write anywhere between 8 and 12 letters.
- Put the second paper towel on top. You shouldn’t be able to see the letters that you just wrote.
- Have the little one dip the paintbrush in water and then “paint” the paper towel. As the water leaks, the letters will appear through the paper towel.
- They can keep track of which letters they find by circling them on the piece of paper with the alphabet on it.
You can make this activity more complex depending on the children’s age. You can mix uppercase and lowercase letters, or ask them to say words that start with that letter.
Source: @happytotshelf
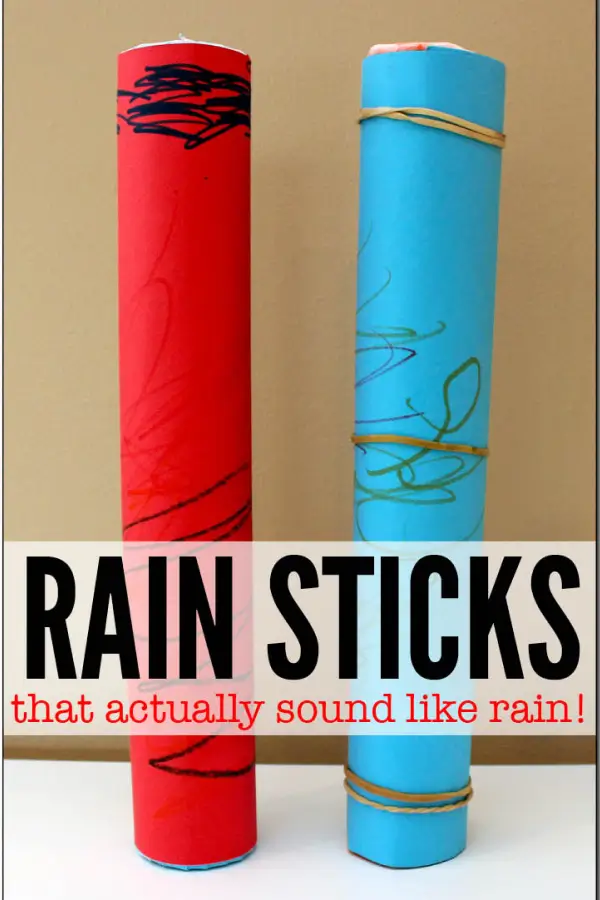
6. Rain sticks - that actually work!
What you need:
- Paper towel roll
- Aluminum foil
- ¼ cup dried rice
- Pen/pencil
- Clear tape
- Wooden spoon
- Broom handle
- Colored paper
- Optional: funnel
The activity:
- Tear about a 10 inch sheet of aluminum foil. Twist it so it looks like a stick (or snake).
- Wrap the foil around the handle of the brook, like a coil.
- Then tear another piece of aluminum foil that is about 7 inches. Twist this piece too, but much thinner, so that it is almost like a thin wire
- Wrap this foil around the handle of the wooden spoon, again like a coil. Make it as tight of a spiral as you can.
- Then, place the smaller spiral inside the larger one. (This is an important step!)
- Place the paper towel roll on top of the colored paper and draw an outline of the circle. Draw two so you have one for each end of the stick.
- Then, draw a larger circle around the smaller circles you just traced.
- Cut out along the larger circle line. Then, cut smaller cuts around the circle, towards the smaller circle. Tape this to one end of the paper towel roll. (These steps are hard to explain, but very simple. Please use the photos in the link!)
- Once one side is taped, add about ¼ cup of dried rice into the tube. Then tape the other side of the tube like you did the first side. (Don’t be afraid of using lots of tape - You want to make sure the rice doesn’t fall out!)
- Decorate the rain stick, and try it out with some dance moves!
This activity is still simple, but definitely requires a few extra steps than the other. This is great for practicing longer attention span, and lots of fine motor skills.
You can also ask some more challenging questions like, why does the rice need to be dried? Would it work if we used cooked rice? And of course, the freedom to decorate their stick is perfect for self-expression!
Source: Gift of Curiosity
7. Yoga
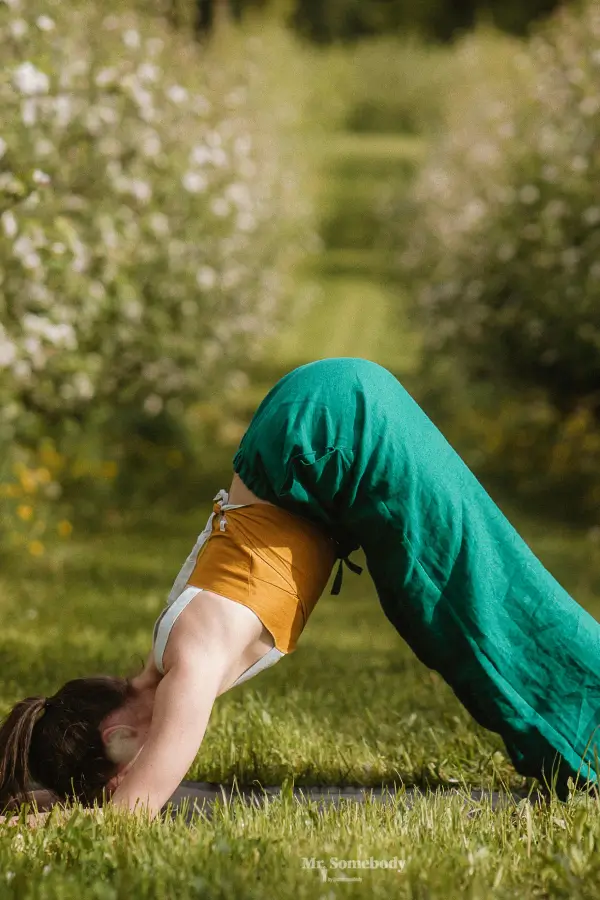
When little ones are bouncing off the walls indoors, it’s the perfect time to channel that energy into something calm yet purposeful—like yoga! What you might not realize is that yoga isn’t just about stretching or physical movement; it offers a ton of benefits for young children.
It helps them develop self-regulation, strengthens their mind-body connection, and teaches patience as they learn that practice over time leads to progress—boosting their self-confidence along the way! Plus, you can make it even more fun by letting them take turns leading the poses, turning it into a playful group activity.
What you need:
- Yoga mat, or some type of soft and safe floor
- Someone to lead (doesn’t have to be a professional yogi!)
The activity
Lead the children through some fun yoga poses! Downward dog, tree, happy baby, and even some shavasana!
8. Paper plate mask making

What you need:
- Paper plate
- Scissors
- Paint
- Paintbrush
- Arts and crafts: feathers, stickers, glitter, sequins, etc.
- Stapler and elastic so you can wear the mask
- Wooden chopsticks for masks to hold
The activity:
- Cut the paper plate in half, so each child gets half of a plate.
- Have each child hold their plate up to their face, and you can mark where the eyes, nose and mouth should be. Make sure to line these up correctly so they can see and breathe out of their mask!
- Cut the eye holes out.
- Paint your masks, and once the paint dries, time to decorate!
- To wear the mask, staple an elastic on each side, otherwise tape the wooden chopstick to the back of the paper plate so they can hold it.
You can choose a specific theme for the masks - Valentine’s day themed, zoo animal themed, underwater theme, and so much more! Great for their creativity, imagination, fine motor skills and learning new vocabulary!
Source: Happy Hooligans
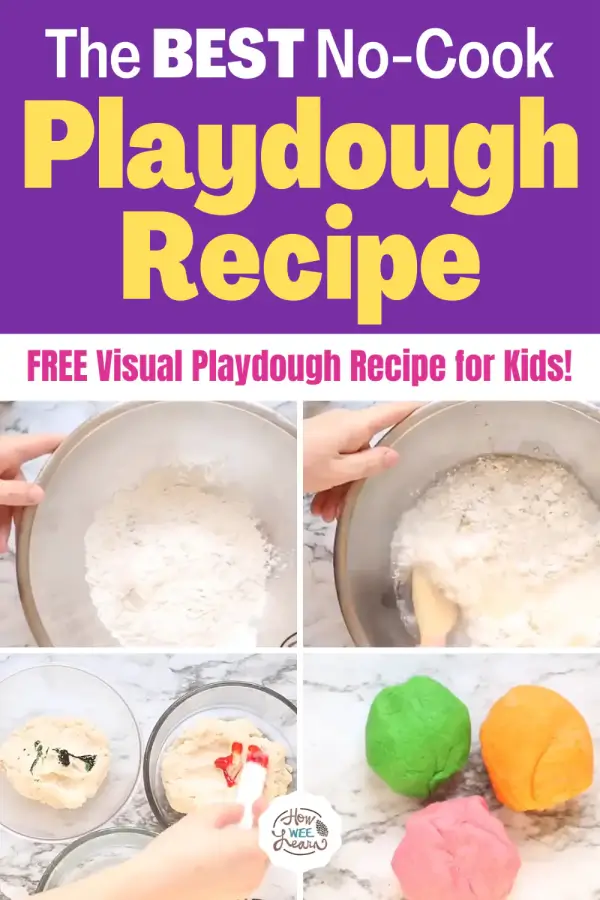
9. Make playdough - no cooking necessary!
What you need:
- 1 ½ cups flour
- ½ cup salt
- 2 tablespoons cream of tartar
- 2 tablespoons of oil
- 1 cup of boiling water
- A large bowl
- Food coloring
The activity:
- Dump all the dry ingredients into a bowl and mix!
- Then add in the boiling water and oil and stir.
- If you are making only one color - you can mix in the food coloring with the boiling water and oil for easy, even stirring.
- If you have multiple colors, then you can divide up the playdough you just made and add the different colors. Knead each one a bit so the color mixes in.
Easy and simple. Plus, you can’t do it wrong. Too sticky? Add more flour. Too clumpy? Add more boiled water.
Source: How We Learn
10. Pom-poms in a whisk - so many things to do!
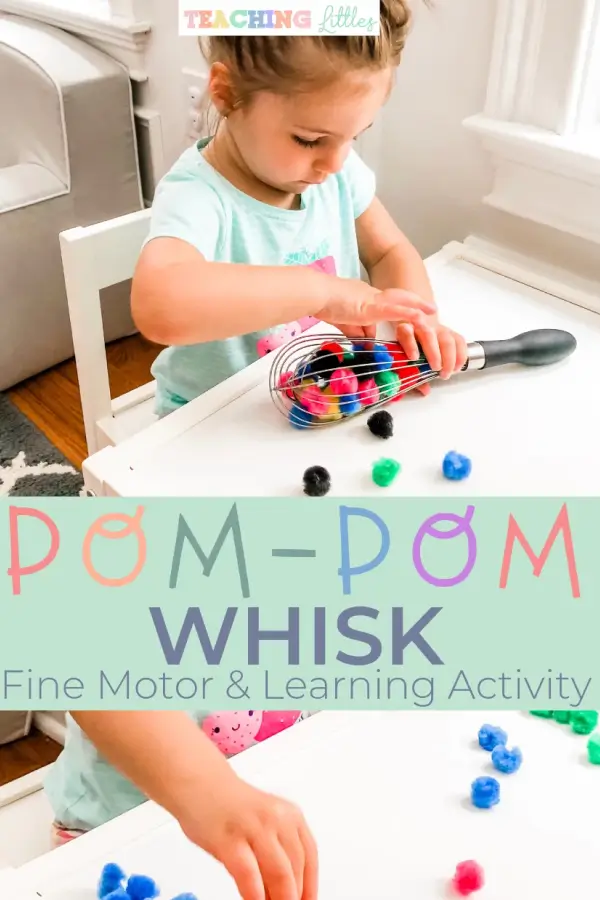
This activity can go in so many different directions. Working on fine motor skills, learning colors, counting, independent play or social play.
What you need:
Only two things! And I bet you can guess what they are.
- Assorted colored pom-poms
- Whisk
The activity:
- Simply stick the pom-poms into the whisk one at a time.
- Then, pull them out one at a time. This has them use their pincer grasp (their thumb and pointer only).
- Then, this is where you can encourage them to count the pom-poms, categorize them by color, or even by size if possible. Have them think of animals or food or other objects that are the same color as the pom-pom. You can do this with them or encourage independent play.
Source: Teaching Littles
The big ideas
Please note: here at Famly we love sharing creative activities for you to try with the children at your setting, but you know them best. Take the time to consider adaptions you might need to make so these activities are accessible and developmentally appropriate for the children you work with. Just as you ordinarily would, conduct risk assessments for your children and your setting before undertaking new activities, and ensure you and your staff are following your own health and safety guidelines.

You might also like

Your personal writing assistant
Fix spelling, grammar, and improve the tone of every message and newsfeed post. All with Sidekick.
Learn how Sidekick works
